
How to design a workshop? The DEA philosophy
How to design a workshop? According to DEA, with the DEA designers and investors working in step: a process based on constant dialogue with the client, to harmonise the skills of the builder and the requirements of the customer.
The answer to the question “How to design a workshop?” is far from simple. According to our philosophy, designing a high class workshop starts with dialogue between the designers and investors, and concludes only with the transfer of skills and knowledge to the contracting company.
How to design a workshop in 5 steps
There are 5 steps to designing a plan for a workshop:
- Definition of objectives
- 3D rendering
- Dialogue with the customer
- Finishing
- Installation
1. Definition of objectives
The starting point for designing a workshop is dialogue with the customer. A representative takes charge of the order and analyses the objectives and expectations of the customer; they request the layout of the space and evaluate the presence of any structural obstacles.
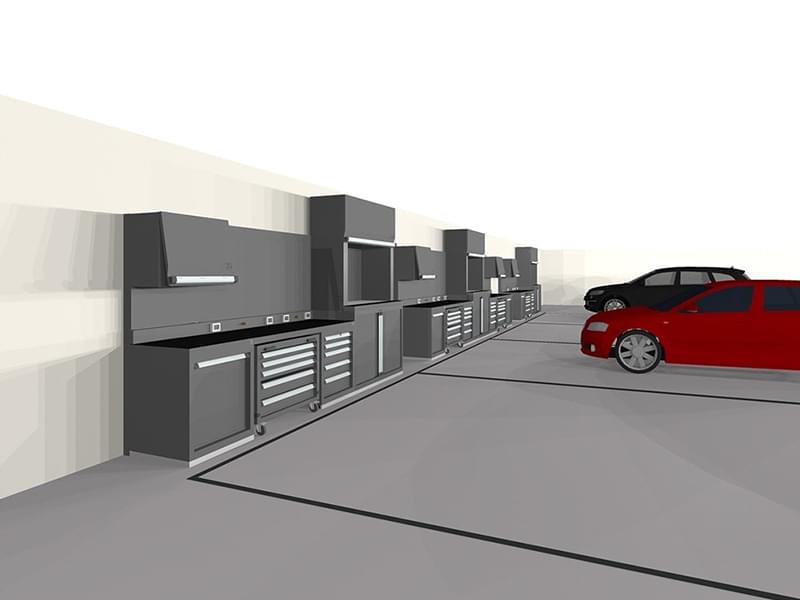
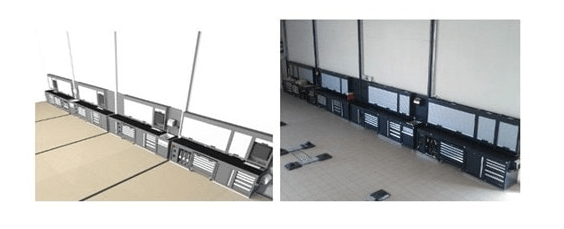
2. 3D rendering
At this point, the layout of the space is imported into AutoCad. Taking the available budget into consideration, the DEA project manager hypothesises possible combinations of furniture units and drafts several proposals. The selection will fall on the solution that best combines optimised use of the space with high aesthetic yield.
The result is a realistic 3D project.
3. Dialogue with the customer
We then present the 3D project to the customer, explaining the reasons behind each choice; the presentation is fundamental, because it allows the client to get an idea of what their workshop will actually look like and to understand how to organise the work areas.
Once an agreement is reached, we then prepare the economic offer, close the contract and issue the necessary technical documentation to start production.
4. Completing the project
Laser cutting, welding, bending, epoxy powder coating, assembly: this is the production stage. We build each model unit, inspect it and issue documents certifying the inspections performed.
Finally, we package the items and organise transport: knowing how to design a workshop also means managing the logistics stage based on expert knowledge of the best transport means.
5. Turn-key installation and on-site commissioning
Once they arrive at the workshop, the DEA installers perform preliminary installation of the units: the skills of our qualified technicians – all of which are also shared with the staff of the contracting company – ensure impeccable installation and long duration of the products.
The Post Sales Department participates in installation and performs on-site commissioning, with subsequent issue of all documentation.
Sixth step: After Sales Care
Immediately after on-site commissioning, the representative demonstrates proper functioning of each unit and its specific features, for example how to use the DEAMotion guides or locks, how to manage passages of hoses and wires, how to adjust support feet and heights, how to clean surfaces; this service is an integral part of the DEA philosophy.
Knowing how to design a workshop today is no longer enough to ensure optimum service to customers: we must also guarantee dedicated assistance and continuous support. This is why we have developed a dedicated business unit in DEA called After Sales Care to assist our customers through all their post-sales needs.
Now that you are familiar with our philosophy on how to design a workshop, contact us by filling out the form or calling us at 0522 1533038.